
One of my favorite before and after’s at 4th Street is the kitchen. The kitchen was very basic, ikea white cabinets, laminate counter top and large brown/gray tiles. We were very lucky to be able to change out the countertops and backsplash which made a huge impact. I was worried I would have to paint both which would not have been fun. But you do what you gotta do. I am so lucky to be married to a husband who knows how to do so many things and thankfully tiling is one of them.
I need to clean my kitchen and snap an updated after photo.
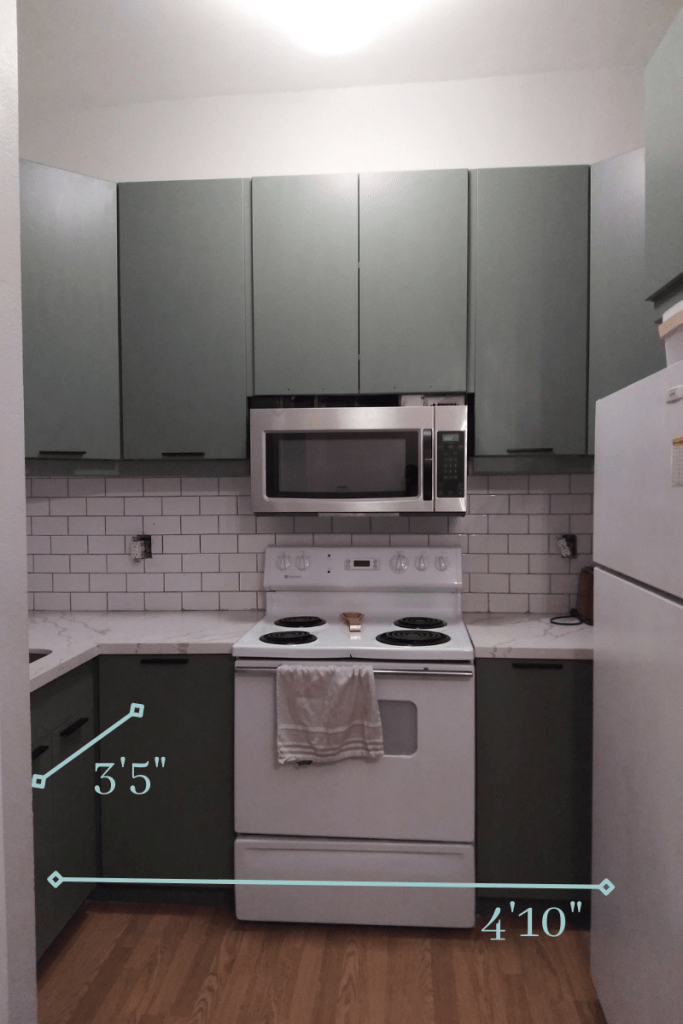
Before & After


This kitchen is entirely too small and one of my favorite things to do is to cook and it is so hard to do in this kitchen. To give you a better idea here is the size of the kitchen: from fridge to sink is 4′ 10″ and from the opening to the oven is 3′ 5″. And as someone who is only 5′ 2″ on a good day, it is very hard to reach anything in this kitchen.


I wanted some color in the apartment and I loved the blue green cabinets that were on trend for 2019. The dark blue green would look so good with the white quartz counter top that we picked out and the classic white subway tile and the white appliances.
Kitchen Cabinets:
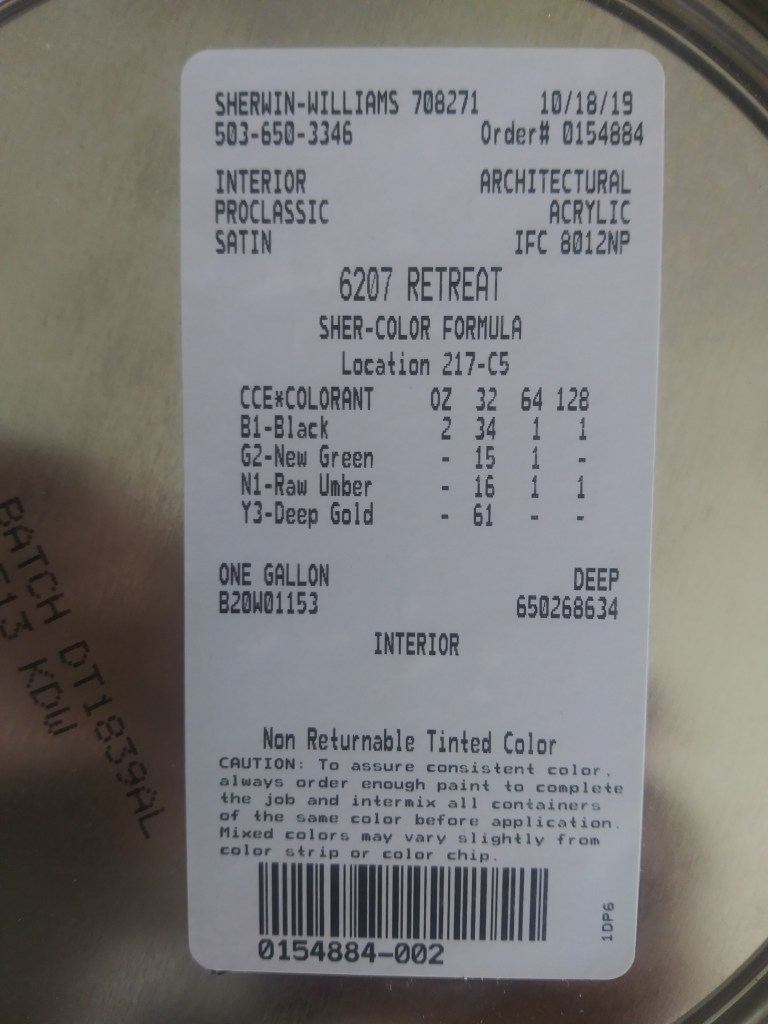
Picking the color was harder than I expected. I tried so many samples in the moody blue green family. I finally realized the tone wasn’t right with the Crushed Ice gray walls. Once I realized that, it was easier to determine the right color. I landed on Sherwin Williams Retreat.
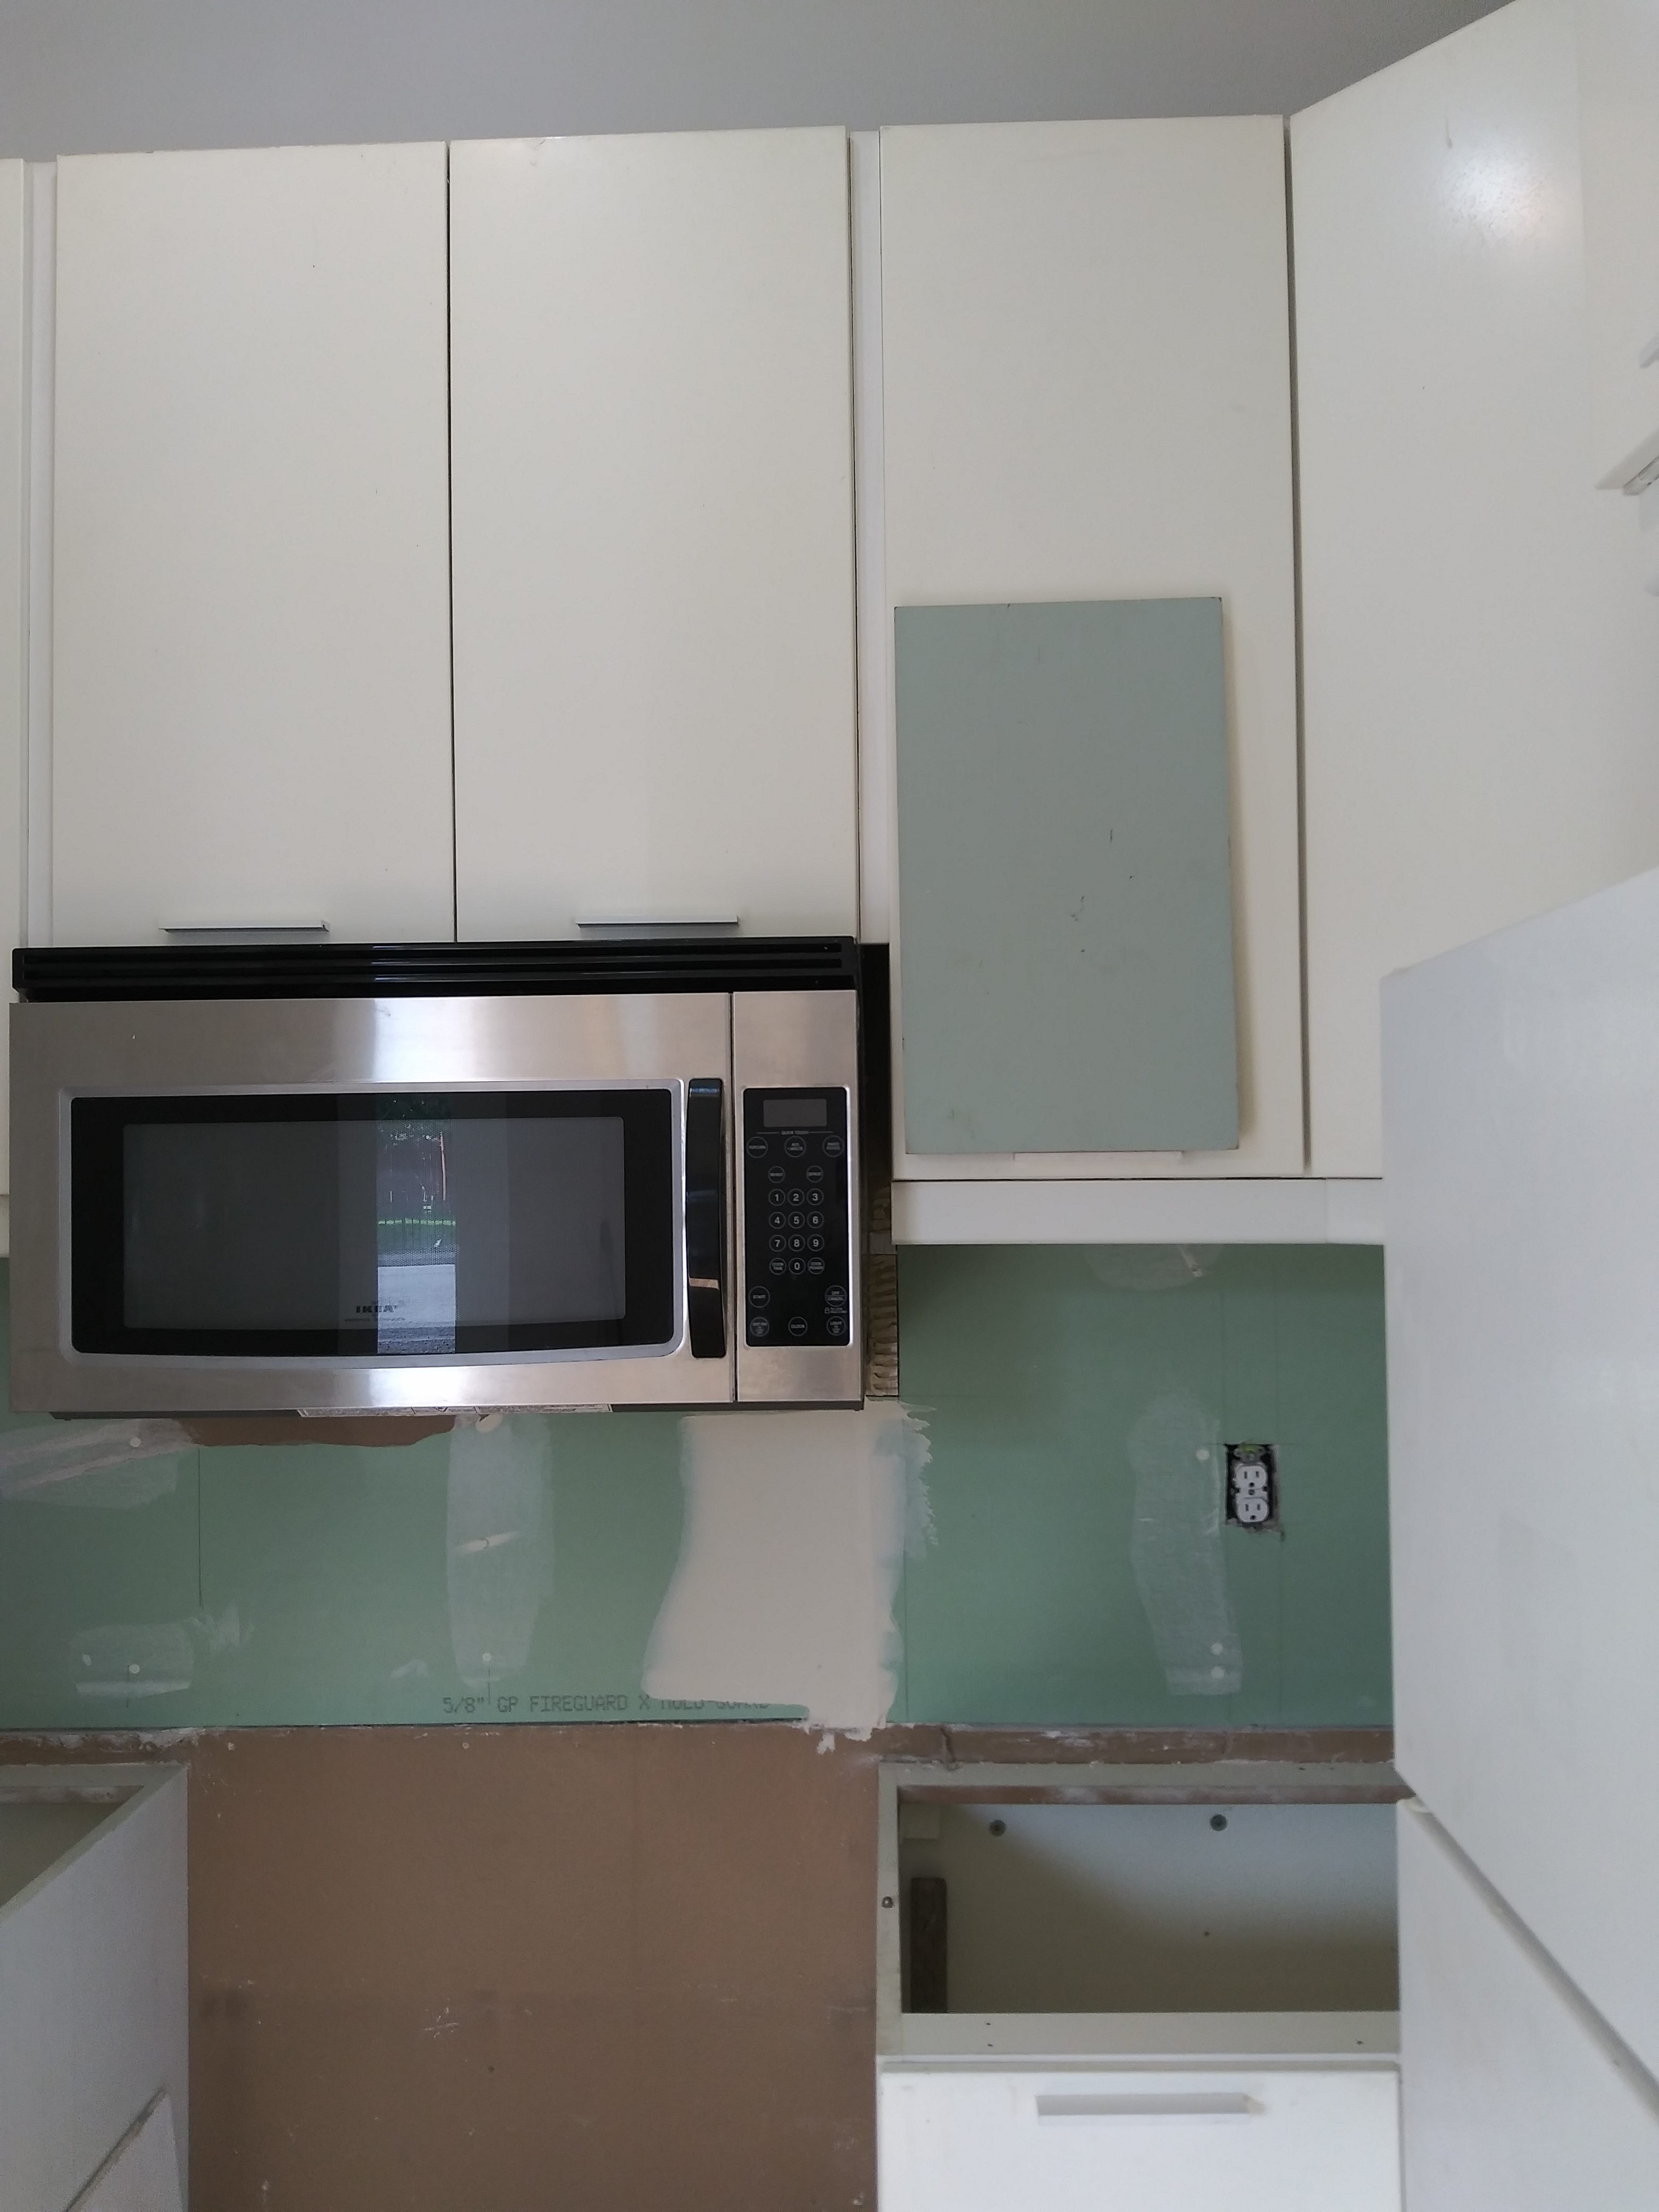
Testing Cabinet Colors


These ikea cabinets were not easy to paint. They were very smooth and it took sanding, priming and lots of coats to get a good coverage. Overall I am pretty happy with how they have held up, they need a few touch ups.
Link: Cabinet Paint Color – Sherwin Williams Retreat
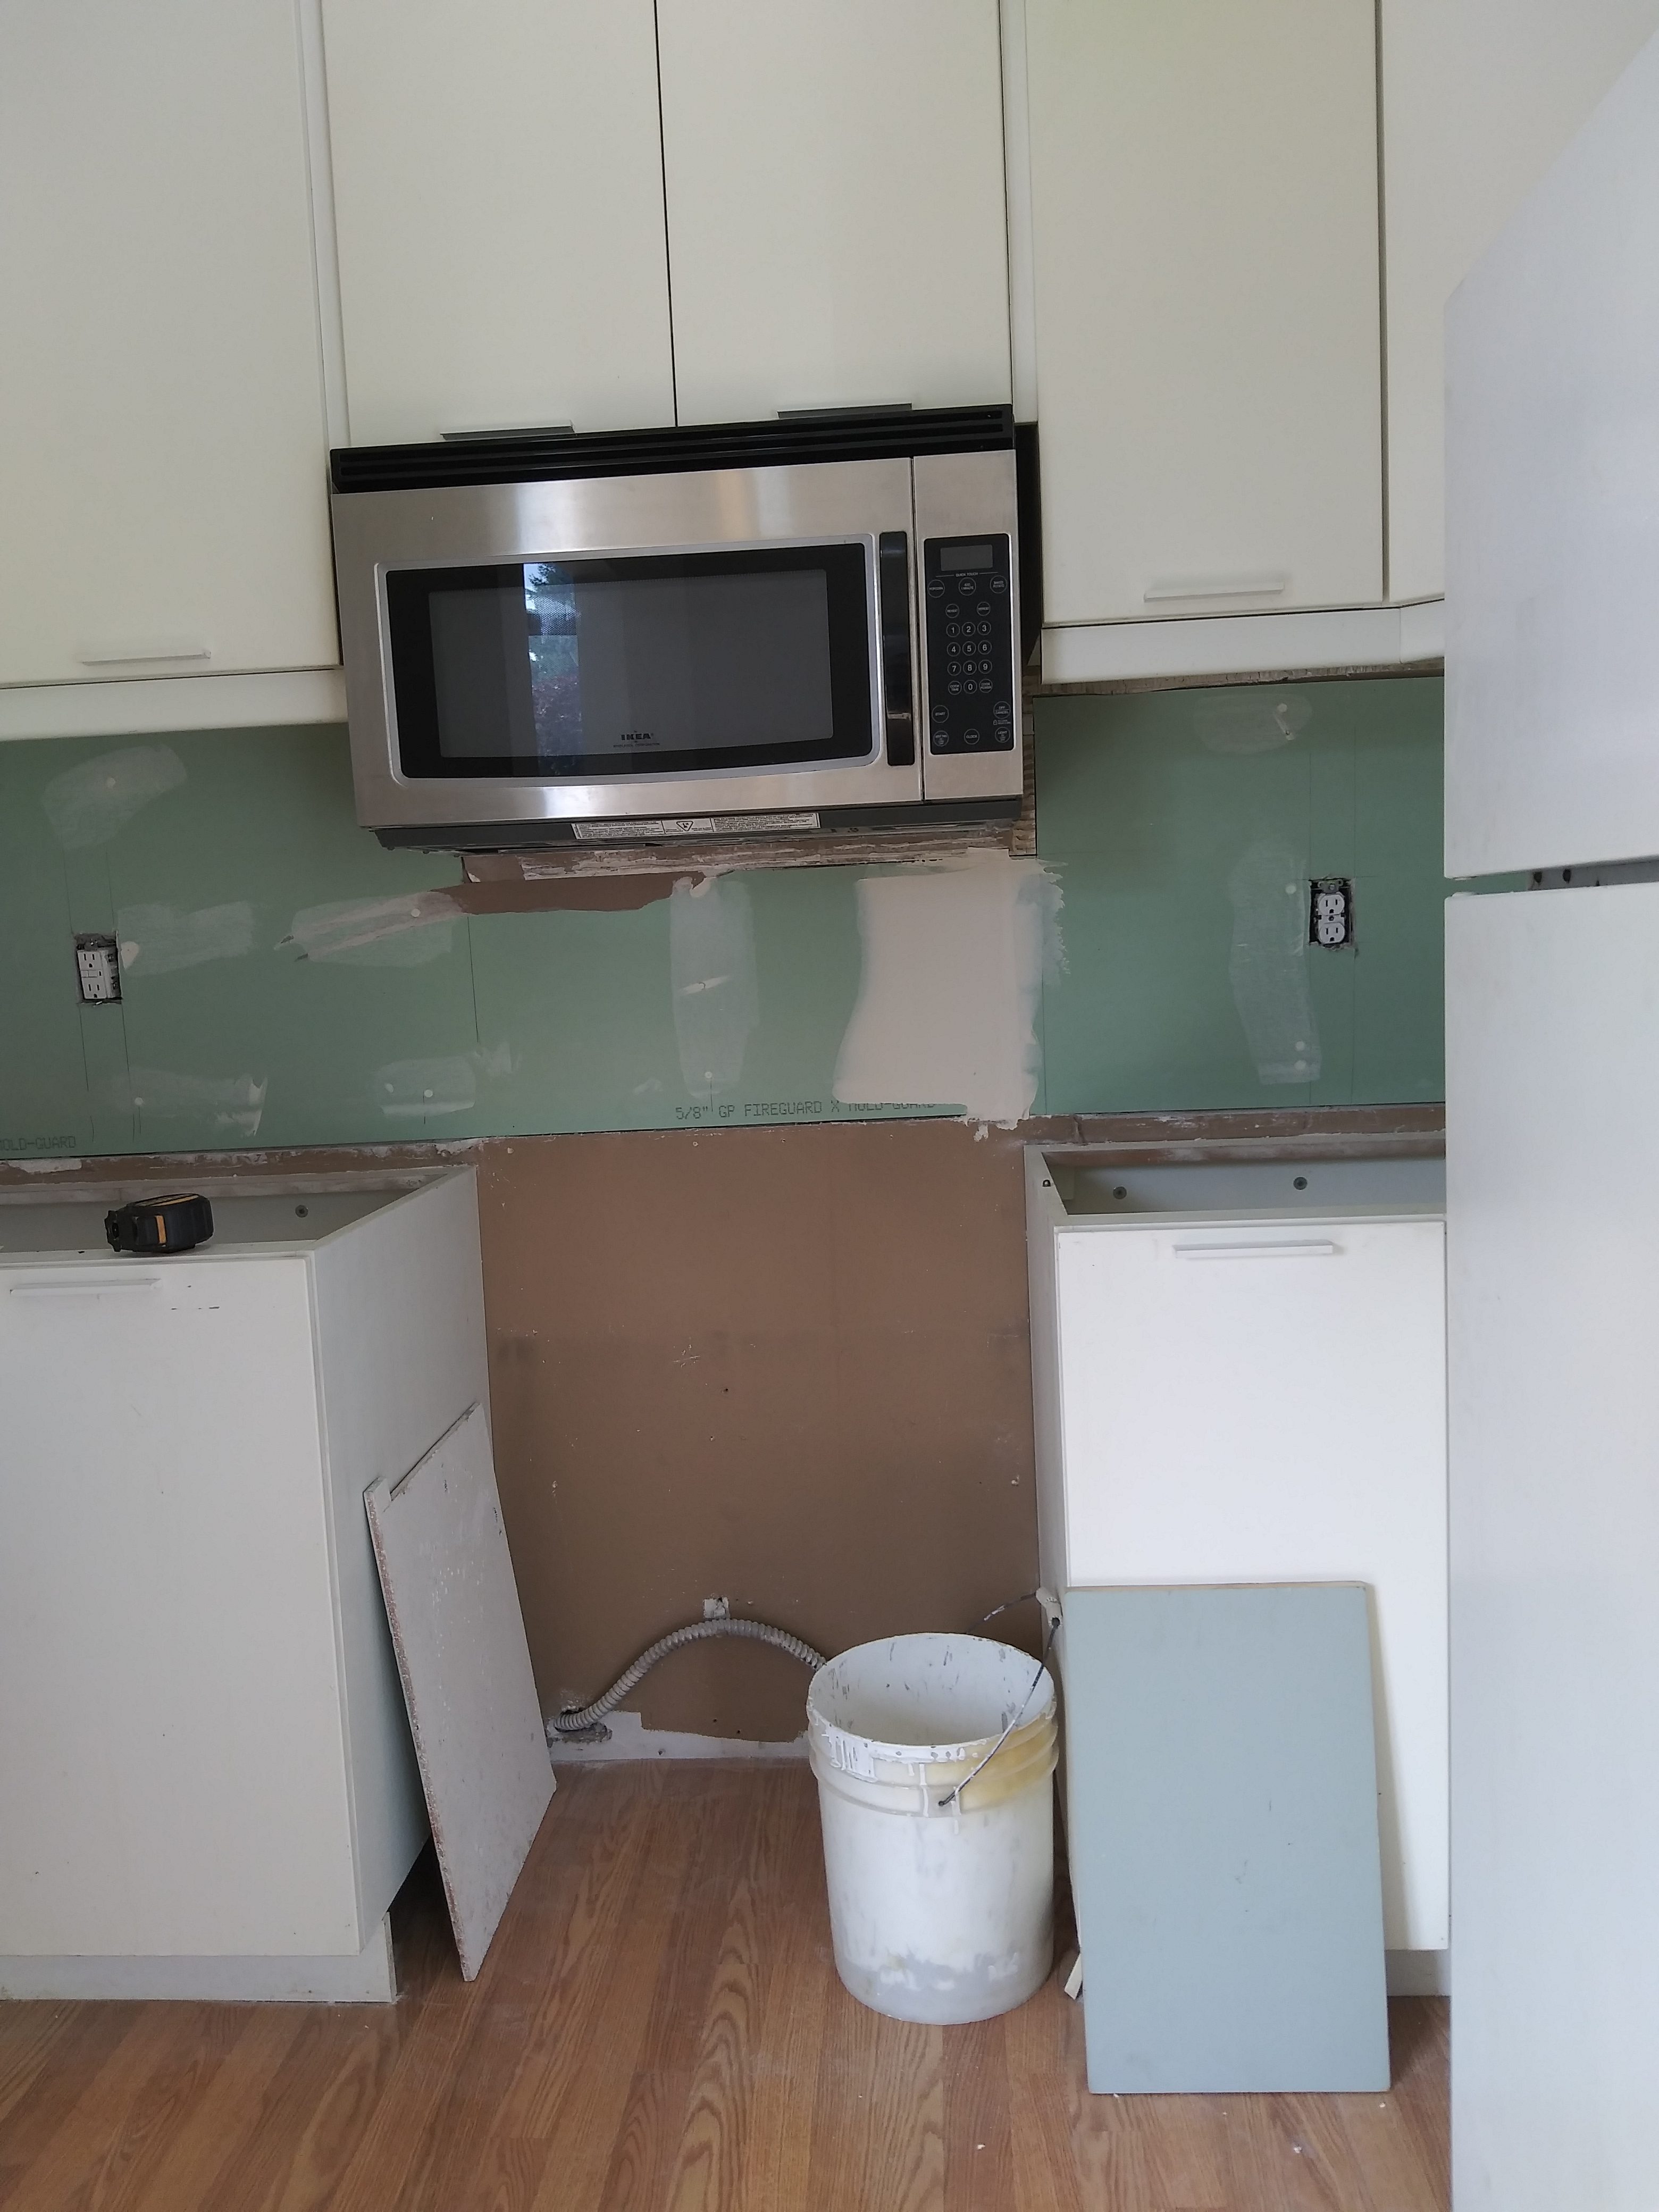
Cabinet Progress


I really wanted to change out the handles but it wasn’t in the budget so I painted them black instead. My paint job has not held up well and I really need to re-paint them.


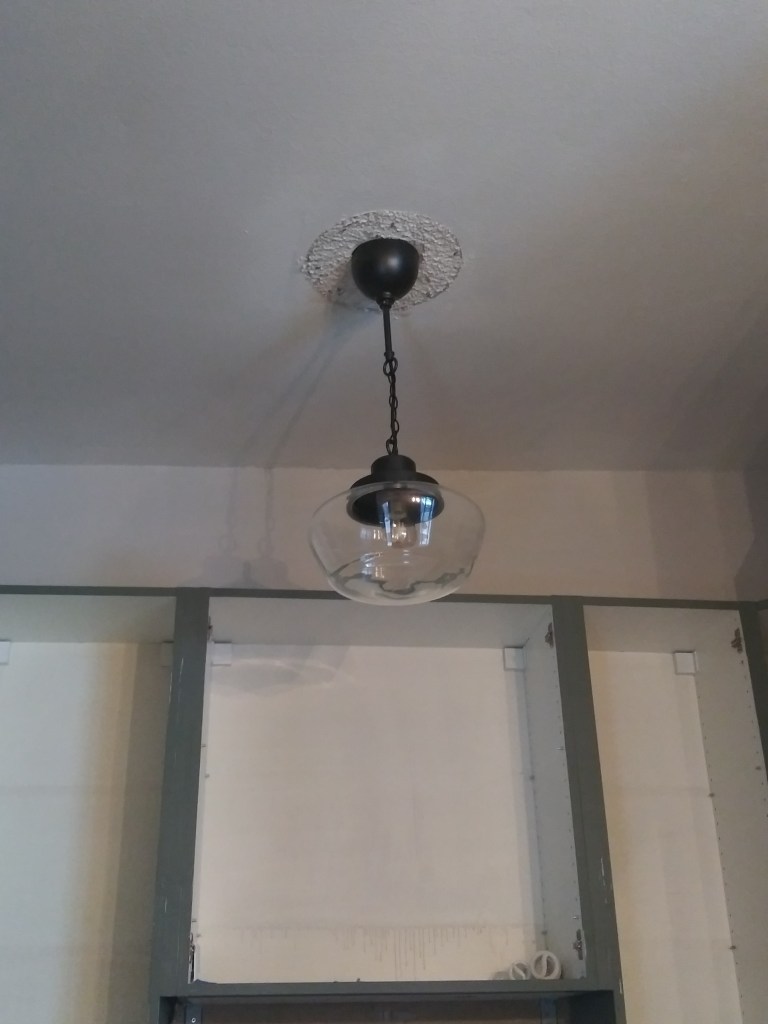
Kitchen Lighting:
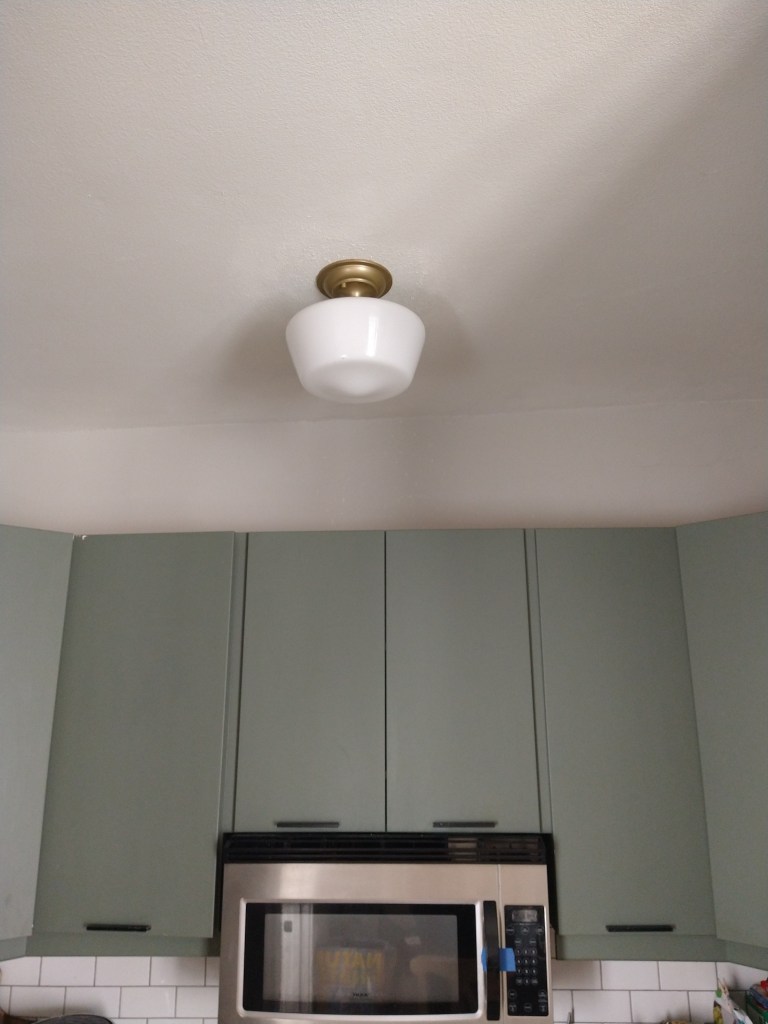
The ceilings are soo high so I needed something bright but I didn’t have much of a budget so I went with a simple school house light. The first one I pick out was clear glass but it was not nearly bright enough and I hated it. The next one I painted the base gold and the glass was white and it was was way brighter!
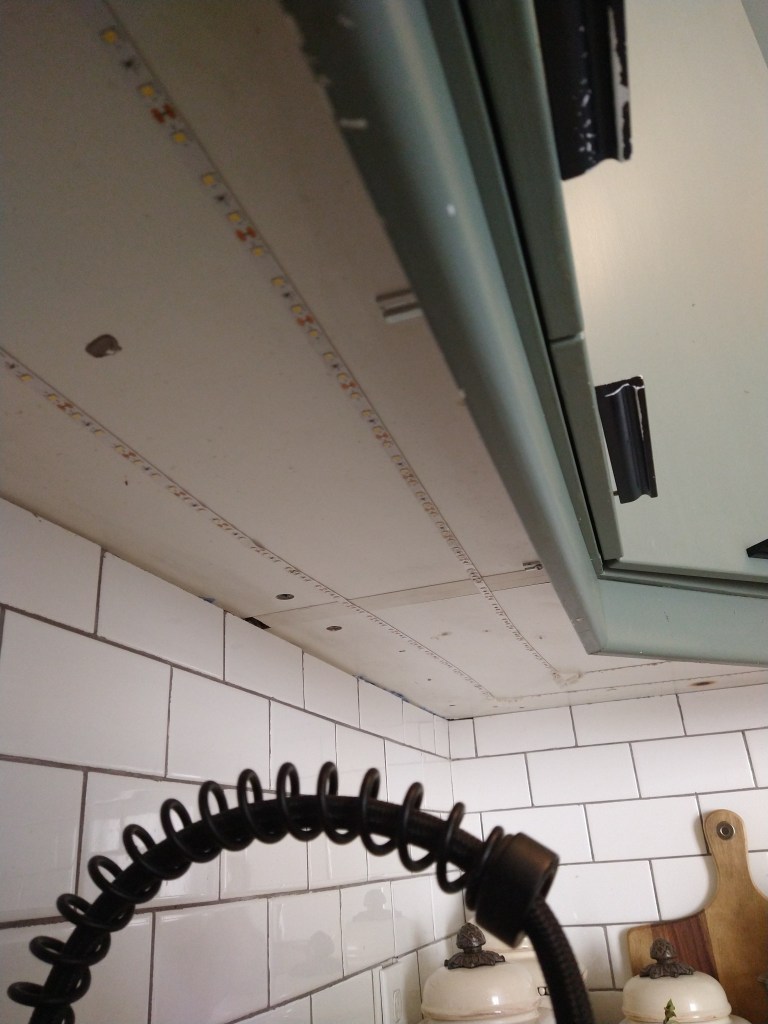
Something I added later was under cabinet lighting. Game changer! I could barely see the dishes while washing them which doesn’t make for very clean dishes. My first fix was battery operated touch puck lights velcroed under the cabinet. Two issues. One, the lights did not last very long and I was going through batteries way too fast. Second, they would detach from the velcro and scare the living day lights out of me when they hit the counter and fall to the floor.
My second fix has been amazing. I took an led light strip and ran it under the cabinet and doubled back so it was bright enough. This plugs and has a button to turn off and on so I am not constantly changing out batteries. I only did one side of my kitchen because I don’t use the other side for anything other than storage.
LINK: LED Light Strip

Counters & Backsplash:
In our previous apartment we had white quartz countertops with the speckles and flecks in it. I loved the light color but I despised the rock flecks, the counter seemed very porous and was prone to staining. So I knew I didn’t want that! But a girl can dream… about marble – the queen of countertops! Who doesn’t love marble? But when you are on a budget, quartz is a great option and very durable. I love it and it really makes this kitchen feel a little luxurious.
I choose to do a classic subway tile to fill the entire space from the counter to the bottom of the cabinets. Alex did all the tiling and it was a big push at the end to meet our move in deadline. We really didn’t want to move in to an unfinished apartment!
LINK: White subway tile backsplash from Home Depot


Backsplash Progress


Sink & Faucet
One of my favorite parts of this kitchen is the sink and faucet. We don’t have a dishwasher and I needed to find the biggest sink possible that would fit in that little cabinet. While shopping around for all things kitchen an employee at Home Depot told us that Kraus makes the best stainless steel sinks and they aren’t loud because of the thickness of the metal like other sinks. So I scored the biggest sink I could fit in that spot for a great price on Wayfair. I also went with a big black faucet to give lots of space for dishwashing, which I unfortunately do way too much of.
I paid $300 total for the sink and faucet, which looking at the prices now, was a steal!

Link: Kraus Stainless Steel Undermount Sink
Link: Kraus Black Faucet
Check back for Part 3!
Or subscribe to the blog to get an updates for new posts:
Leave a Reply